

How To Import 2d Animations Into Unity
How To Import, Set, & Animate Your Sprites In Unity
Unity is an extremely powerful engine with a huge variety of capabilities. One of those features is the Animation Organization. This is a very simple and very easy-to-use tool that will allow you to accept a sprite sheet and turn it into a full-fledged animation within seconds!
To start, you lot'll demand a sprite canvass or series of sprites that will be used for your animation.
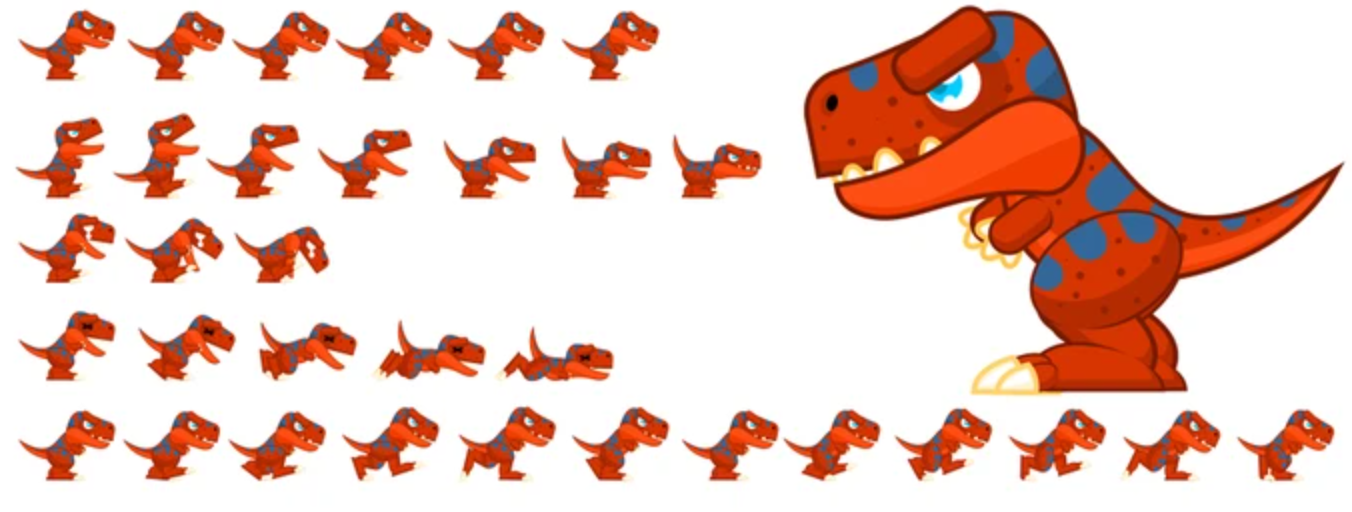
Adjacent, drag and drop your sprite sheets/assets into your Unity project. You will need to make some adjustments to the import settings on this sprite sheet but this isn't hard.
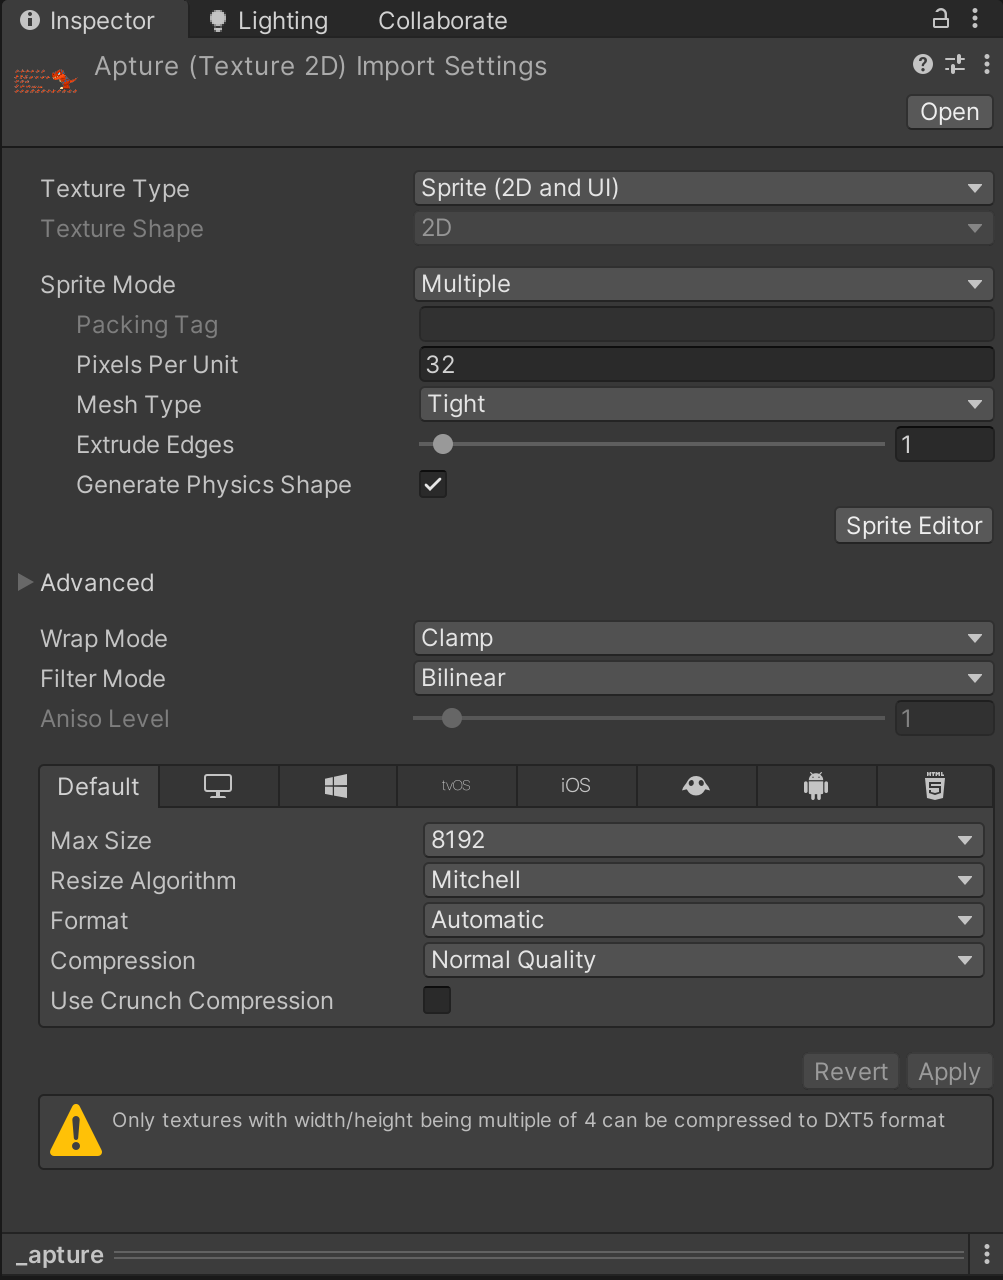
- Set "Texture Blazon" to "Sprite (second and UI)"
- If using a "Sprite Sheet" and so change "Sprite Mode" to "Multiple" otherwise keep it as "Single".
- Now change the "Pixels Per Unit of measurement" to whatsoever your sprites were created as. The standard is usually 300. This is also known as "Pixels Per Inch (PPI)" or "Dots Per Inch (DPI)".
- Side by side, you volition need to select a "Max Size". This is dependant on what size of resolution your game will have but normally bigger is improve since you lot tin can ever scale downwardly.
- Lastly, if y'all used a sprite sheet and ready your "Sprite Mode" to "Multiple", you will need to slice the sheet into individual sprites. To do this you will be using the 'Sprite Editor".
[Alarm]
You lot may be prompted to download the 2D Sprites package which tin exist institute in the "Package Manager". This is fine and is needed in order to do this. Just follow the instructions and do information technology.
Now the sprite editor may wait intimidating at first but trust me when I say it's not.
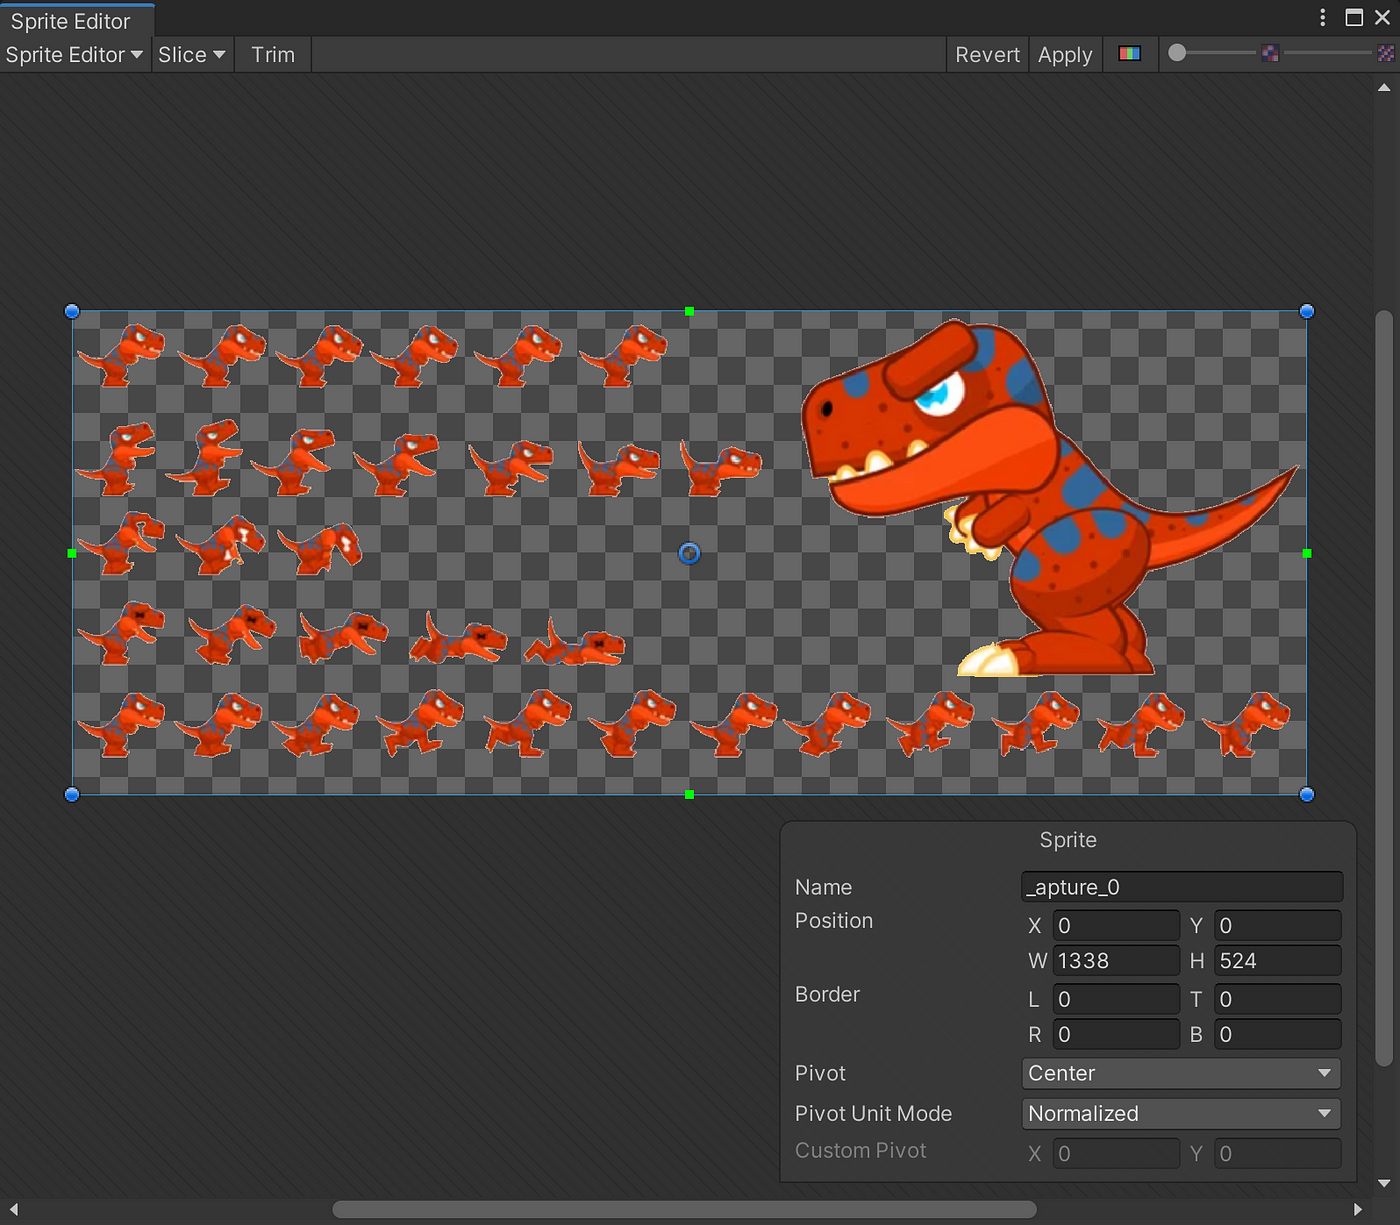
To commencement, nosotros will exist clicking the button on the meridian of the menu labeled "Piece". You should see a drop-down carte announced that looks like the example below.
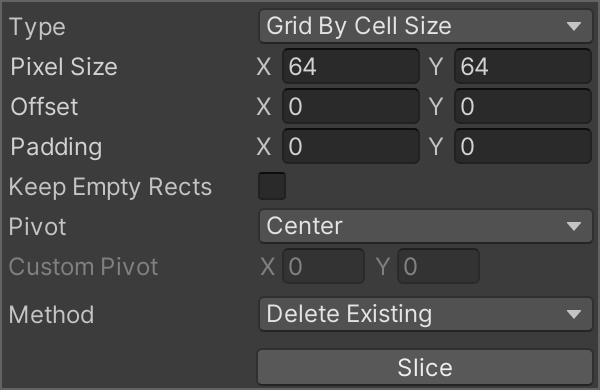
Modify the pick "Type" to either:
- Automatic
or
- Filigree By Cell Size
[Note]
"Automatic" attempts to auto-slice out the individual sprites past detecting the empty space around them (Assuming there is whatever).
Now accommodate the pixel size, showtime, and padding settings as needed to box out your sprites and so hit "Slice". You lot should at present accept a set of sprites in your project menu!
At present on to the Animation!
This is surprisingly the easiest part. Open upwardly the "Blitheness" window which can be establish under (Window>Blitheness>Animation).
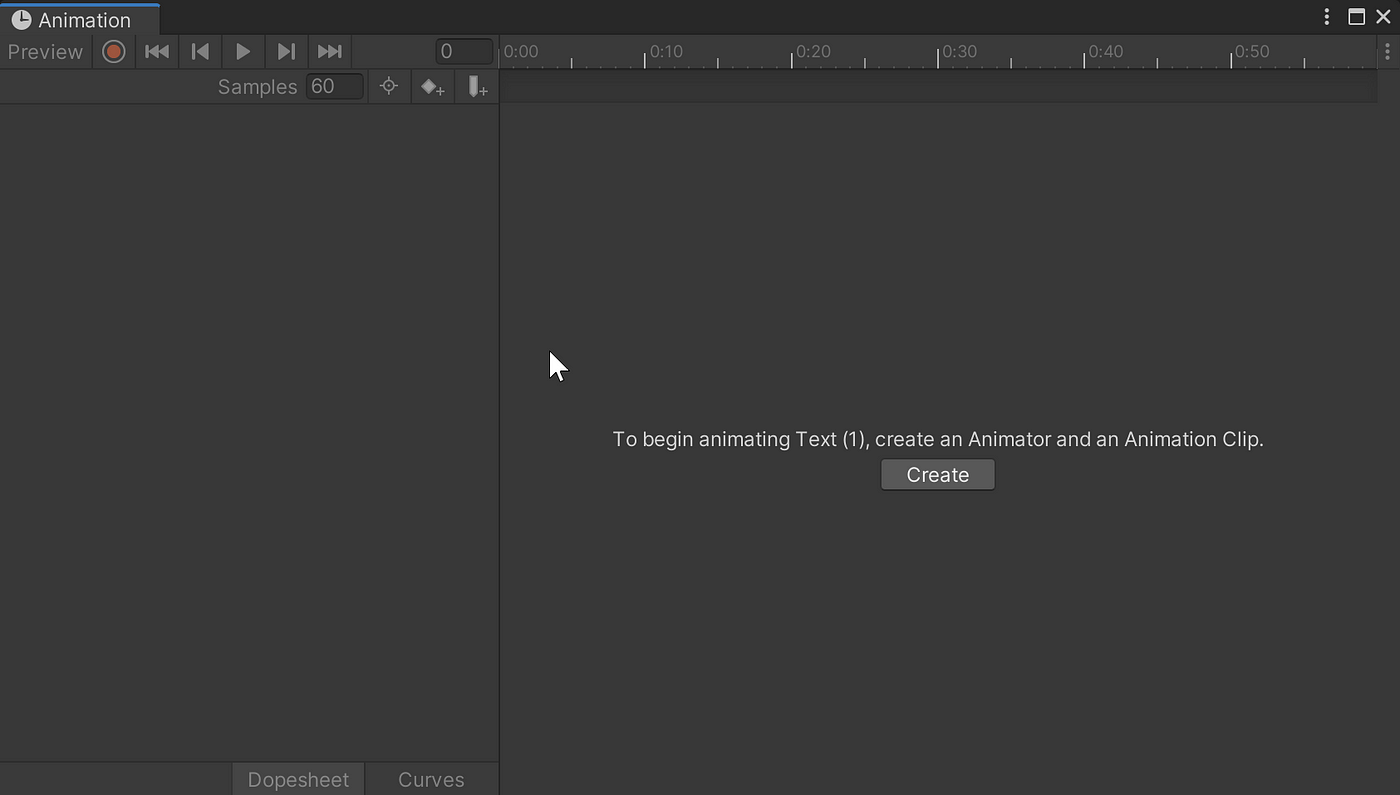
- Now create an object to hold the animation. This can be an empty or a singular instance of one of your sprites.
- Click on this object within the hierarchy and click the "Create" push button presented in the "Animation" window. Name and save the animation within your projection.
- At the top left of the "Blitheness" window, y'all volition meet a carmine round "Record" button. Click this button.
- Elevate and drop the sprites that you are wanting to animate into the animation window. Make sure these are in the order that you want them to play.
- End the recording
- Now change the "Samples" setting within the "Animation" window to change the speed that your animation plays at and you're done!
The "Animator" window is used to transition between animations besides every bit to set parameters/variables that can exist called on within your scripts and will determine things like whether an animation can play or not.
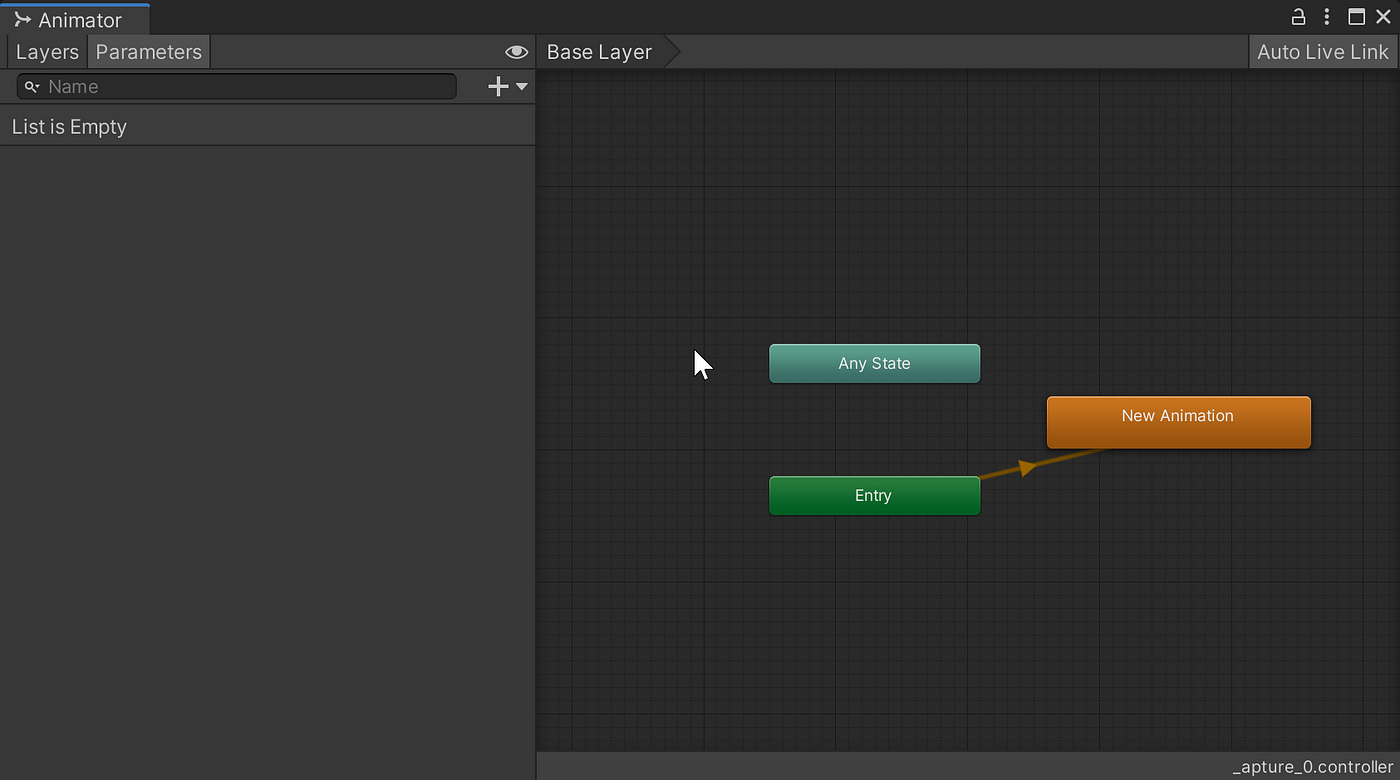
But I'll take to go into that another time. Cheers for reading!
Source: https://adamwreed93.medium.com/how-to-import-set-up-animate-your-sprites-in-unity-32f7d6d57fe8
Posted by: warfieldpasters.blogspot.com
0 Response to "How To Import 2d Animations Into Unity"
Post a Comment